Most people find out what an air purifier costs to run on the day the filter light comes on. The purifier itself was a one-time purchase, and the box may have mentioned “long-lasting filters,” but it rarely says what a full set costs or how often you will need one. So the replacement arrives as a bill you did not plan for.
You can avoid that surprise with a few minutes of arithmetic. This guide shows how to work out your air purifier filter replacement cost per year for a purifier you already own or are thinking about buying. It uses four numbers: how many filters your unit has, what each costs, how often you will really replace each one in your room, and the monthly amount that adds up to.
If you want the full picture including the purchase price, our piece on what a smart air purifier really costs over three years covers that. This article covers only the recurring filter line, so you can run your own numbers for your own model.
Why the filter bill feels like a surprise (and what the box never tells you)
Packaging and product pages tend to quote the best case. A filter life of “up to 12 months” describes a lightly used purifier in a fairly clean room. “Up to” is a ceiling, and your home may not match the conditions behind it.
Three other things make the cost hard to see:
- The price shown is usually for one filter. Many purifiers use two or three separate filters, and each has its own price and schedule.
- The intervals differ by stage. A carbon filter and a HEPA filter often wear out at different speeds, so you may buy one twice for every one of the other.
- The reminder is a light, not a budget. A filter light tells you when to act, but it gives you no warning about what that will cost or how soon.
None of this is hidden, exactly. The information is scattered across the manual, the manufacturer’s replacement-filter page and your own habits. Putting it in one place is the whole job.
Step one: list every filter your purifier uses, not just the main one
Start with the number of filter stages. Open the purifier (check the manual for how, and unplug it first) or look up the exploded diagram in the manual. Write down every component that is meant to be replaced, and mark the ones that are meant to be washed instead.
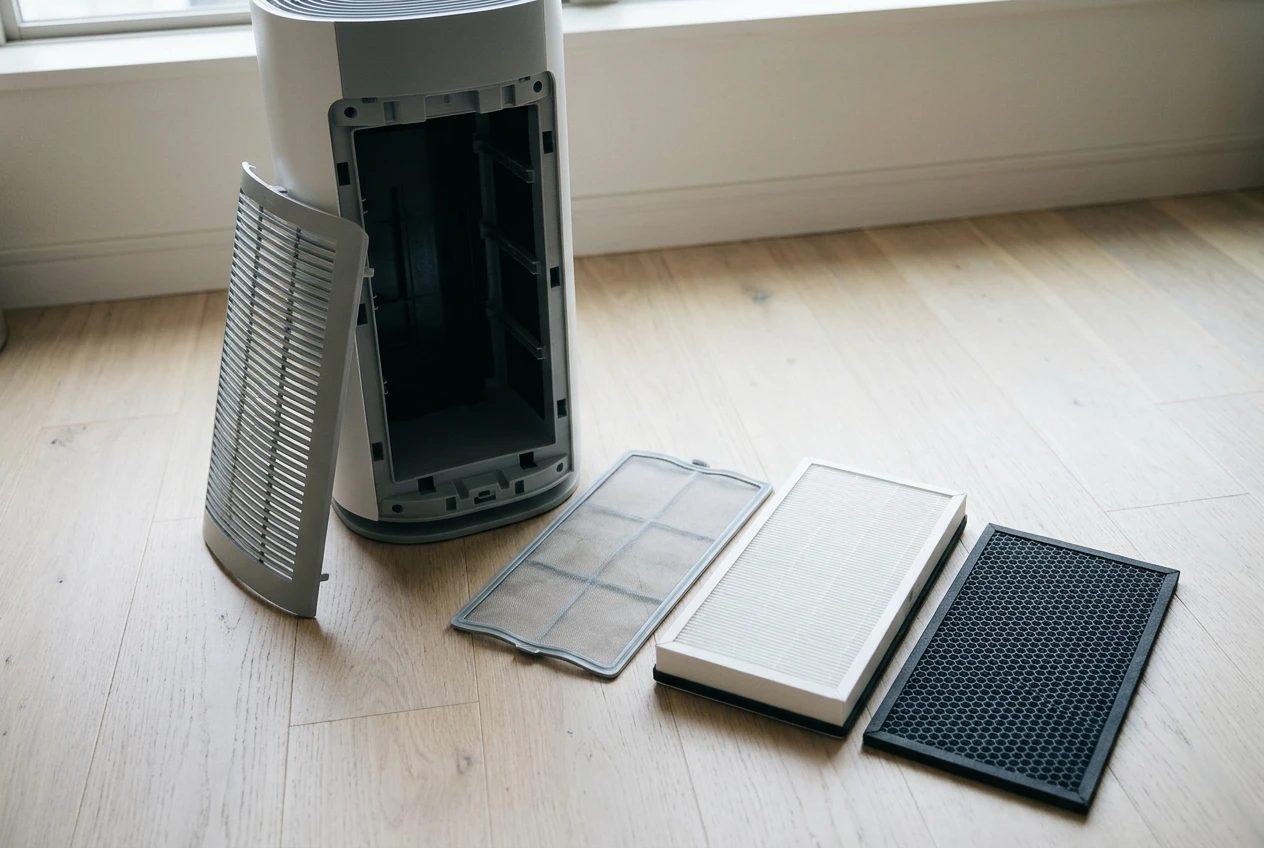
A typical list might include:
- A pre-filter, the first layer, which catches hair, lint and larger dust. Many are washable and some are replaceable.
- A HEPA filter, which captures fine particles. This is usually the most expensive part.
- An activated carbon filter, which handles odors and some gases. It is sometimes a separate layer and sometimes bonded to the HEPA layer.
- Any extra stage, such as a specialty layer for a particular problem.
Some models sell one combined filter that bundles these layers. In that case your list has one line, but check whether the manufacturer also sells the layers separately, because the price of the bundle and the price of the parts can differ.
For each item, write three things: the name or part number, whether it is replaceable or washable, and the price on the manufacturer’s own site today. Prices change, so check the current listing rather than trusting an old receipt. If compatible filters exist for your model, note that price too, and see our comparison of original vs. compatible air purifier filters before deciding which to use.
If you are still shopping, do this exercise for each model on your shortlist before you buy. A unit that costs less up front can cost more per year once all of its filters are counted.
Step two: find the real replacement interval for your room, not the label’s best case
The second number is how long each filter will actually last for you. Begin with the interval in the manual, then adjust it for your conditions.
Check how your purifier decides when a filter is due. Some units count running hours, and others work from a calendar timer. A few use a sensor-based estimate. Your manual should say which, and it matters: a unit that counts hours will ask for a new filter sooner if you run it around the clock than if you run it a few hours a day.
Then look at your room. The conditions that shorten filter life are the same ones that probably made you buy the purifier:
- Pets that shed or track in dander
- Wildfire smoke or heavy seasonal pollen
- Cooking in an open-plan kitchen and living area
- Construction dust, a recent renovation or a dusty street
- Someone who smokes or burns candles often
A reasonable method is to start with the label’s interval for a typical home and shorten it by a fraction when several of these apply. If you are not sure, treat the first replacement as a measurement. Look at the old filter when you remove it. A filter that is gray, matted or heavily loaded after a few months is telling you the label’s interval was too generous for your room. Then record the actual interval in your list and use that for next year’s estimate.
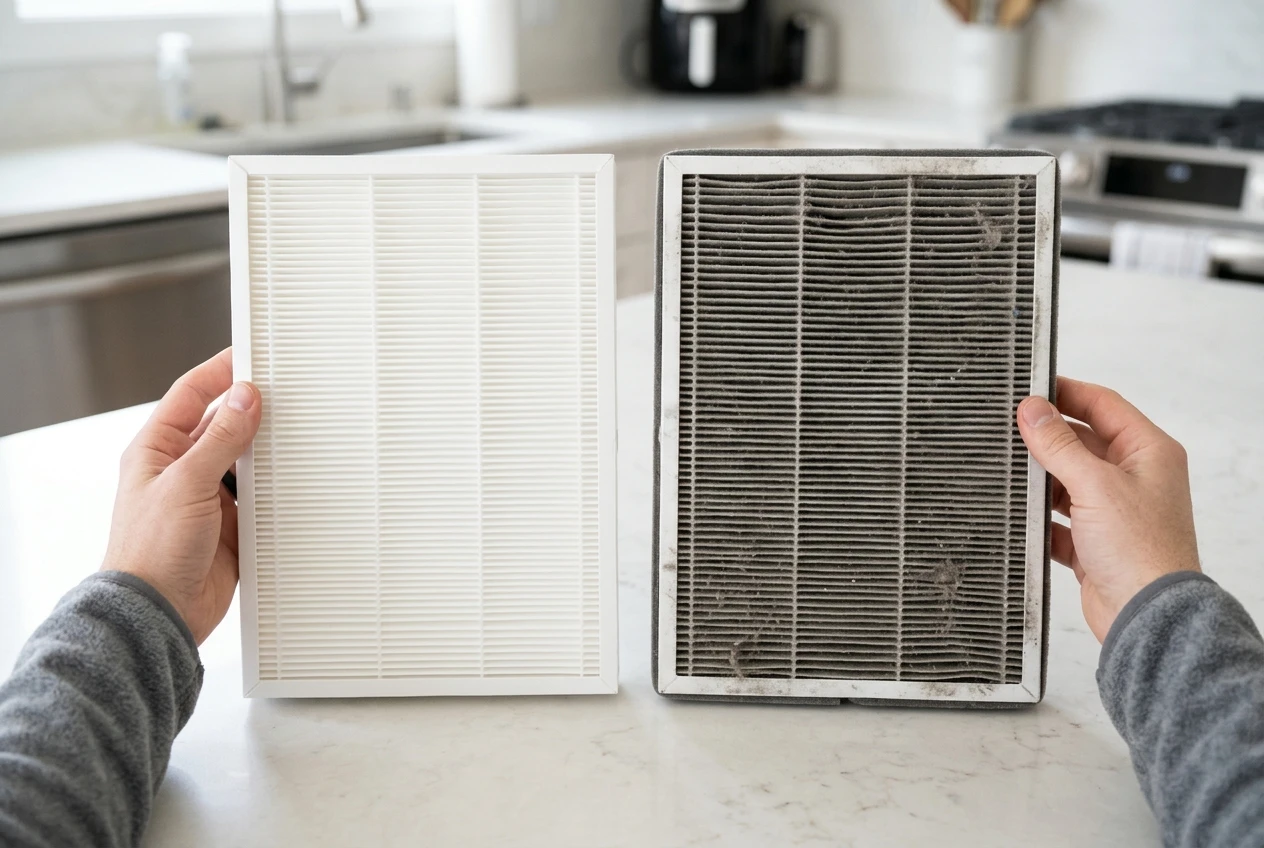
Don’t skip the pre-filter here. A pre-filter that is cleaned on schedule keeps dust off the more expensive layers behind it. Our guide on how to clean your air purifier’s pre-filter covers how often a room really needs it.
Step three: do the math, with a worked example using round, made-up numbers
The formula for each filter is simple:
Yearly cost of one filter = price × (12 ÷ months between replacements)
Add up every filter, and that is your yearly figure. Divide by 12 and you have the monthly figure.
Here is an example with invented numbers for a purifier that does not exist, chosen to make the arithmetic easy.
Filter Price Label interval Cost per year at label interval HEPA filter $60 12 months $60 Carbon filter $30 6 months $60 Pre-filter (washable) $0 Wash only $0 Total $120
At the label’s best case, this household pays $120 a year, or $10 a month. Now adjust for a home with a shedding dog and a smoky late summer. Suppose the HEPA filter really lasts 9 months and the carbon filter 4 months:
Filter Price Real interval Cost per year HEPA filter $60 9 months $80 Carbon filter $30 4 months $90 Pre-filter (washable) $0 Wash only $0 Total $170
That is $170 a year, or about $14.17 a month, which is roughly 42 percent more than the label suggested. The numbers are made up, but the gap is realistic in kind: both the main filters wear faster, and the carbon filter’s cost jumped because it is replaced three times, not twice.
Now use your own prices and intervals. If a part number has a multi-pack price, divide the pack price by the number of filters to get the single-filter price, and only count packs you will actually use within their useful life.
Where the yearly total quietly creeps up
Once you have a number, it helps to know what can push it higher over the following months.
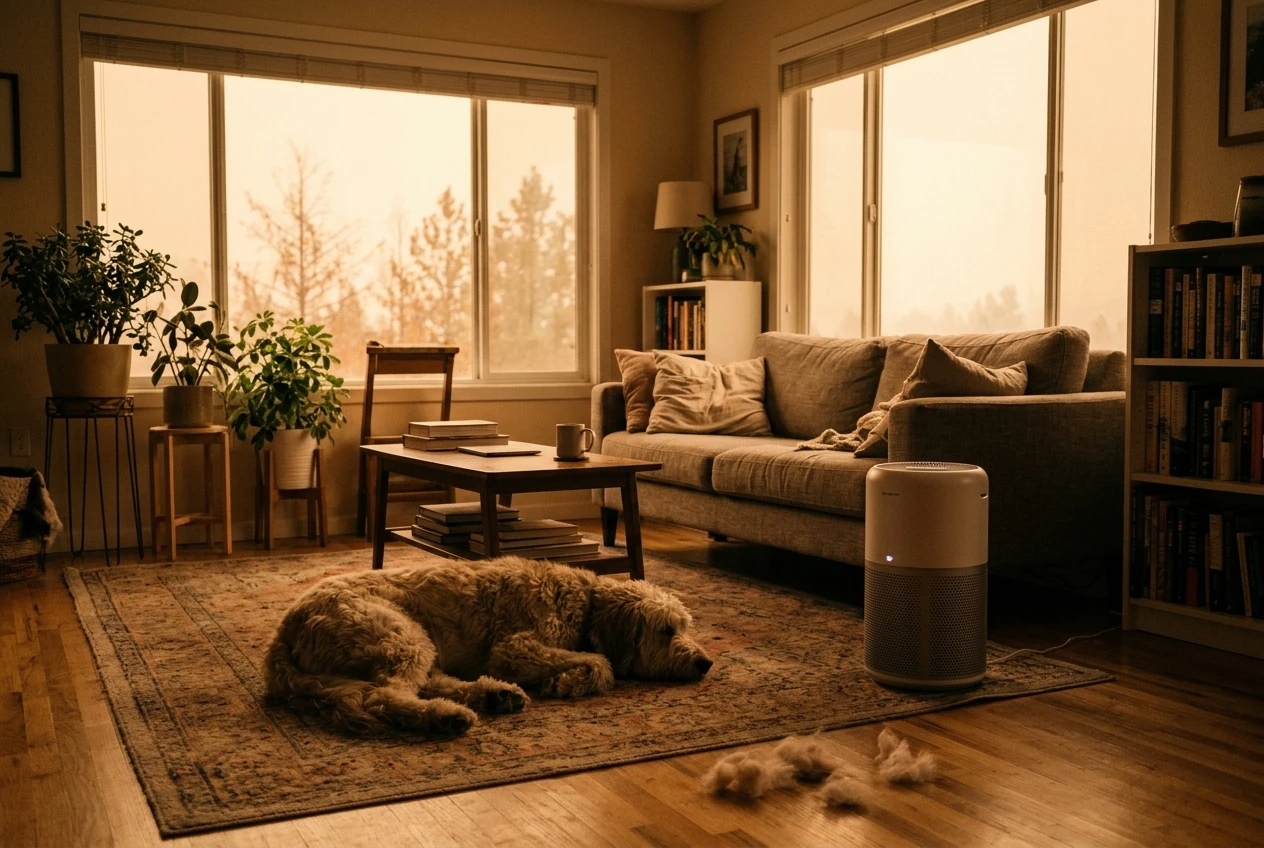
Pets. Hair and dander load the pre-filter first and reach the HEPA layer sooner. A household with a shedding animal may need to clean the pre-filter more often and replace the main filter earlier than the label suggests. If pets are the main reason you bought a purifier, our comparison of smart air purifiers for homes with pets looks at filter upkeep in particular.
Smoke season. Wildfire smoke and heavy outdoor pollution can fill a carbon filter and load a HEPA filter faster than normal. If your area has a smoky stretch, budget for an extra replacement of those parts in that year. Our article on why the carbon in your purifier matters for smoke explains which layer does what.
Running hours. If your unit counts hours, running it more means replacing sooner. Running it on a higher fan speed can also load filters faster, since more air passes through them. Whether continuous running is worth it depends on your room, and we cover that in should you run your air purifier all day.
Humidifiers. A humidifier running in the same room can add moisture to the filters and may push a purifier’s sensor readings up. Damp filters can also develop a musty smell. If you run both, give them some distance and watch the filter condition more closely. Our guide on a humidifier turning a smart air purifier red walks through what to check.
Each of these is a reason to shorten an interval in your list, not to give up on the estimate. A budget with a known margin is easier to live with than a surprise.
Three ways to bring the number down without cutting corners on air quality
The goal is a lower yearly cost without stretching filters past the point where they work.
1. Maintain the washable parts. A clean pre-filter protects the layers behind it. Vacuuming or rinsing it on the schedule your manual gives costs nothing and can delay a more expensive replacement. Wash only parts the manufacturer says are washable, and let them dry completely before reinstalling.
2. Compare original and compatible filters carefully. Compatible filters are often cheaper, but quality and fit vary, and some manufacturers tie warranty terms to original parts. Check the specifications that matter for your problem, such as filter size, the filter grade claimed and the amount of carbon, and read your warranty first. Our guide on original vs. compatible filters lists what to look at.
3. Buy on a plan, not in a panic. If you know the interval, you know when the next filter is due, so you can watch for a fair price rather than paying whatever is listed the week the light comes on. Stocking up can save money, but filters have a shelf life and you need space to store them. Run through the five checks before buying filters in bulk first.
What does not belong on this list is leaving a filter in past its useful life. A clogged filter reduces airflow, which can leave the room less clean while the purifier works harder. The saving is not real if the purifier is no longer doing its job.
Turn the total into a monthly set-aside and a calendar reminder
A yearly number of $170 is easier to absorb when it arrives as about $14 a month. Here is a simple way to set it up:
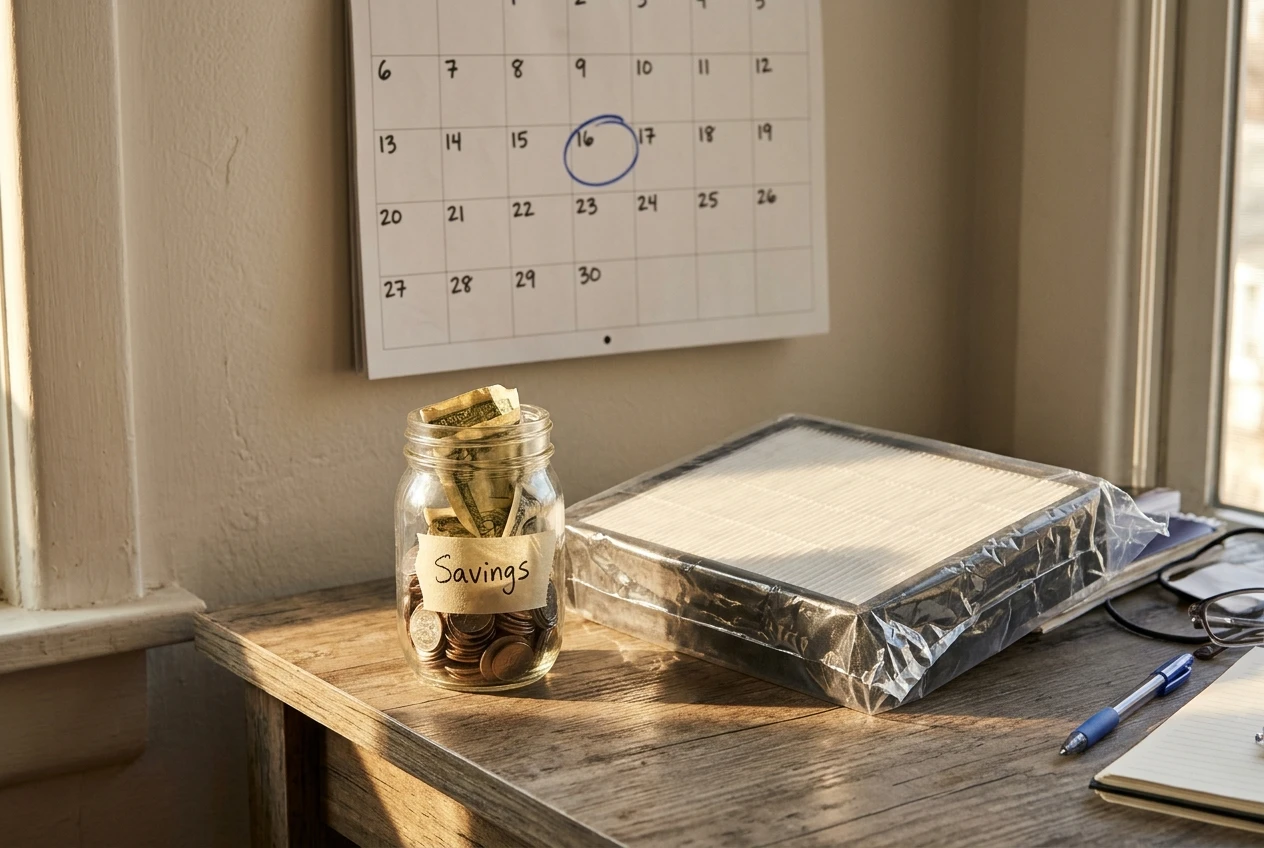
- Take your yearly total from step three and divide by 12. Round up to the next whole dollar. In the example, $14.17 becomes $15.
- Move that amount into a separate savings pot or labeled envelope every month. A small cushion left over after a year can cover a price rise or an extra replacement.
- Put a calendar reminder two to three weeks before each filter is due. Use your adjusted interval, not the label’s. Include the part number in the reminder so you do not have to hunt for it.
- Add a quarterly reminder to look at the filters. Check the pre-filter, and look at the main filter if you can see it. If it looks worse than expected, shorten the interval in your list.
- Record the date of each replacement. After one full cycle you will have real intervals for your room, which are better than any estimate.
When you do replace a filter, you will usually need to reset the filter light so the purifier tracks the new one correctly. The steps differ by brand, and our guide on how to reset the filter light on your smart air purifier covers the common ones.
Once you have a monthly figure, check it against what you are willing to spend. If it is higher than you expected, you have time to compare models, look at compatible filters or change how you use the unit, before the next filter is due.
Join the email list for practical, no-pressure reminders and guides that help you keep your purifier’s running costs predictable.