Air purifier filter troubleshooting
You open the purifier after weeks—or even months—and the filter still looks surprisingly white. Meanwhile, the room has dust, the machine has been running, and the app may already be counting down to replacement.
That mismatch can make a clean-looking filter feel reassuring or suspicious. In truth, color alone cannot tell you whether the filter is working, installed correctly, receiving enough airflow, or ready to be replaced.
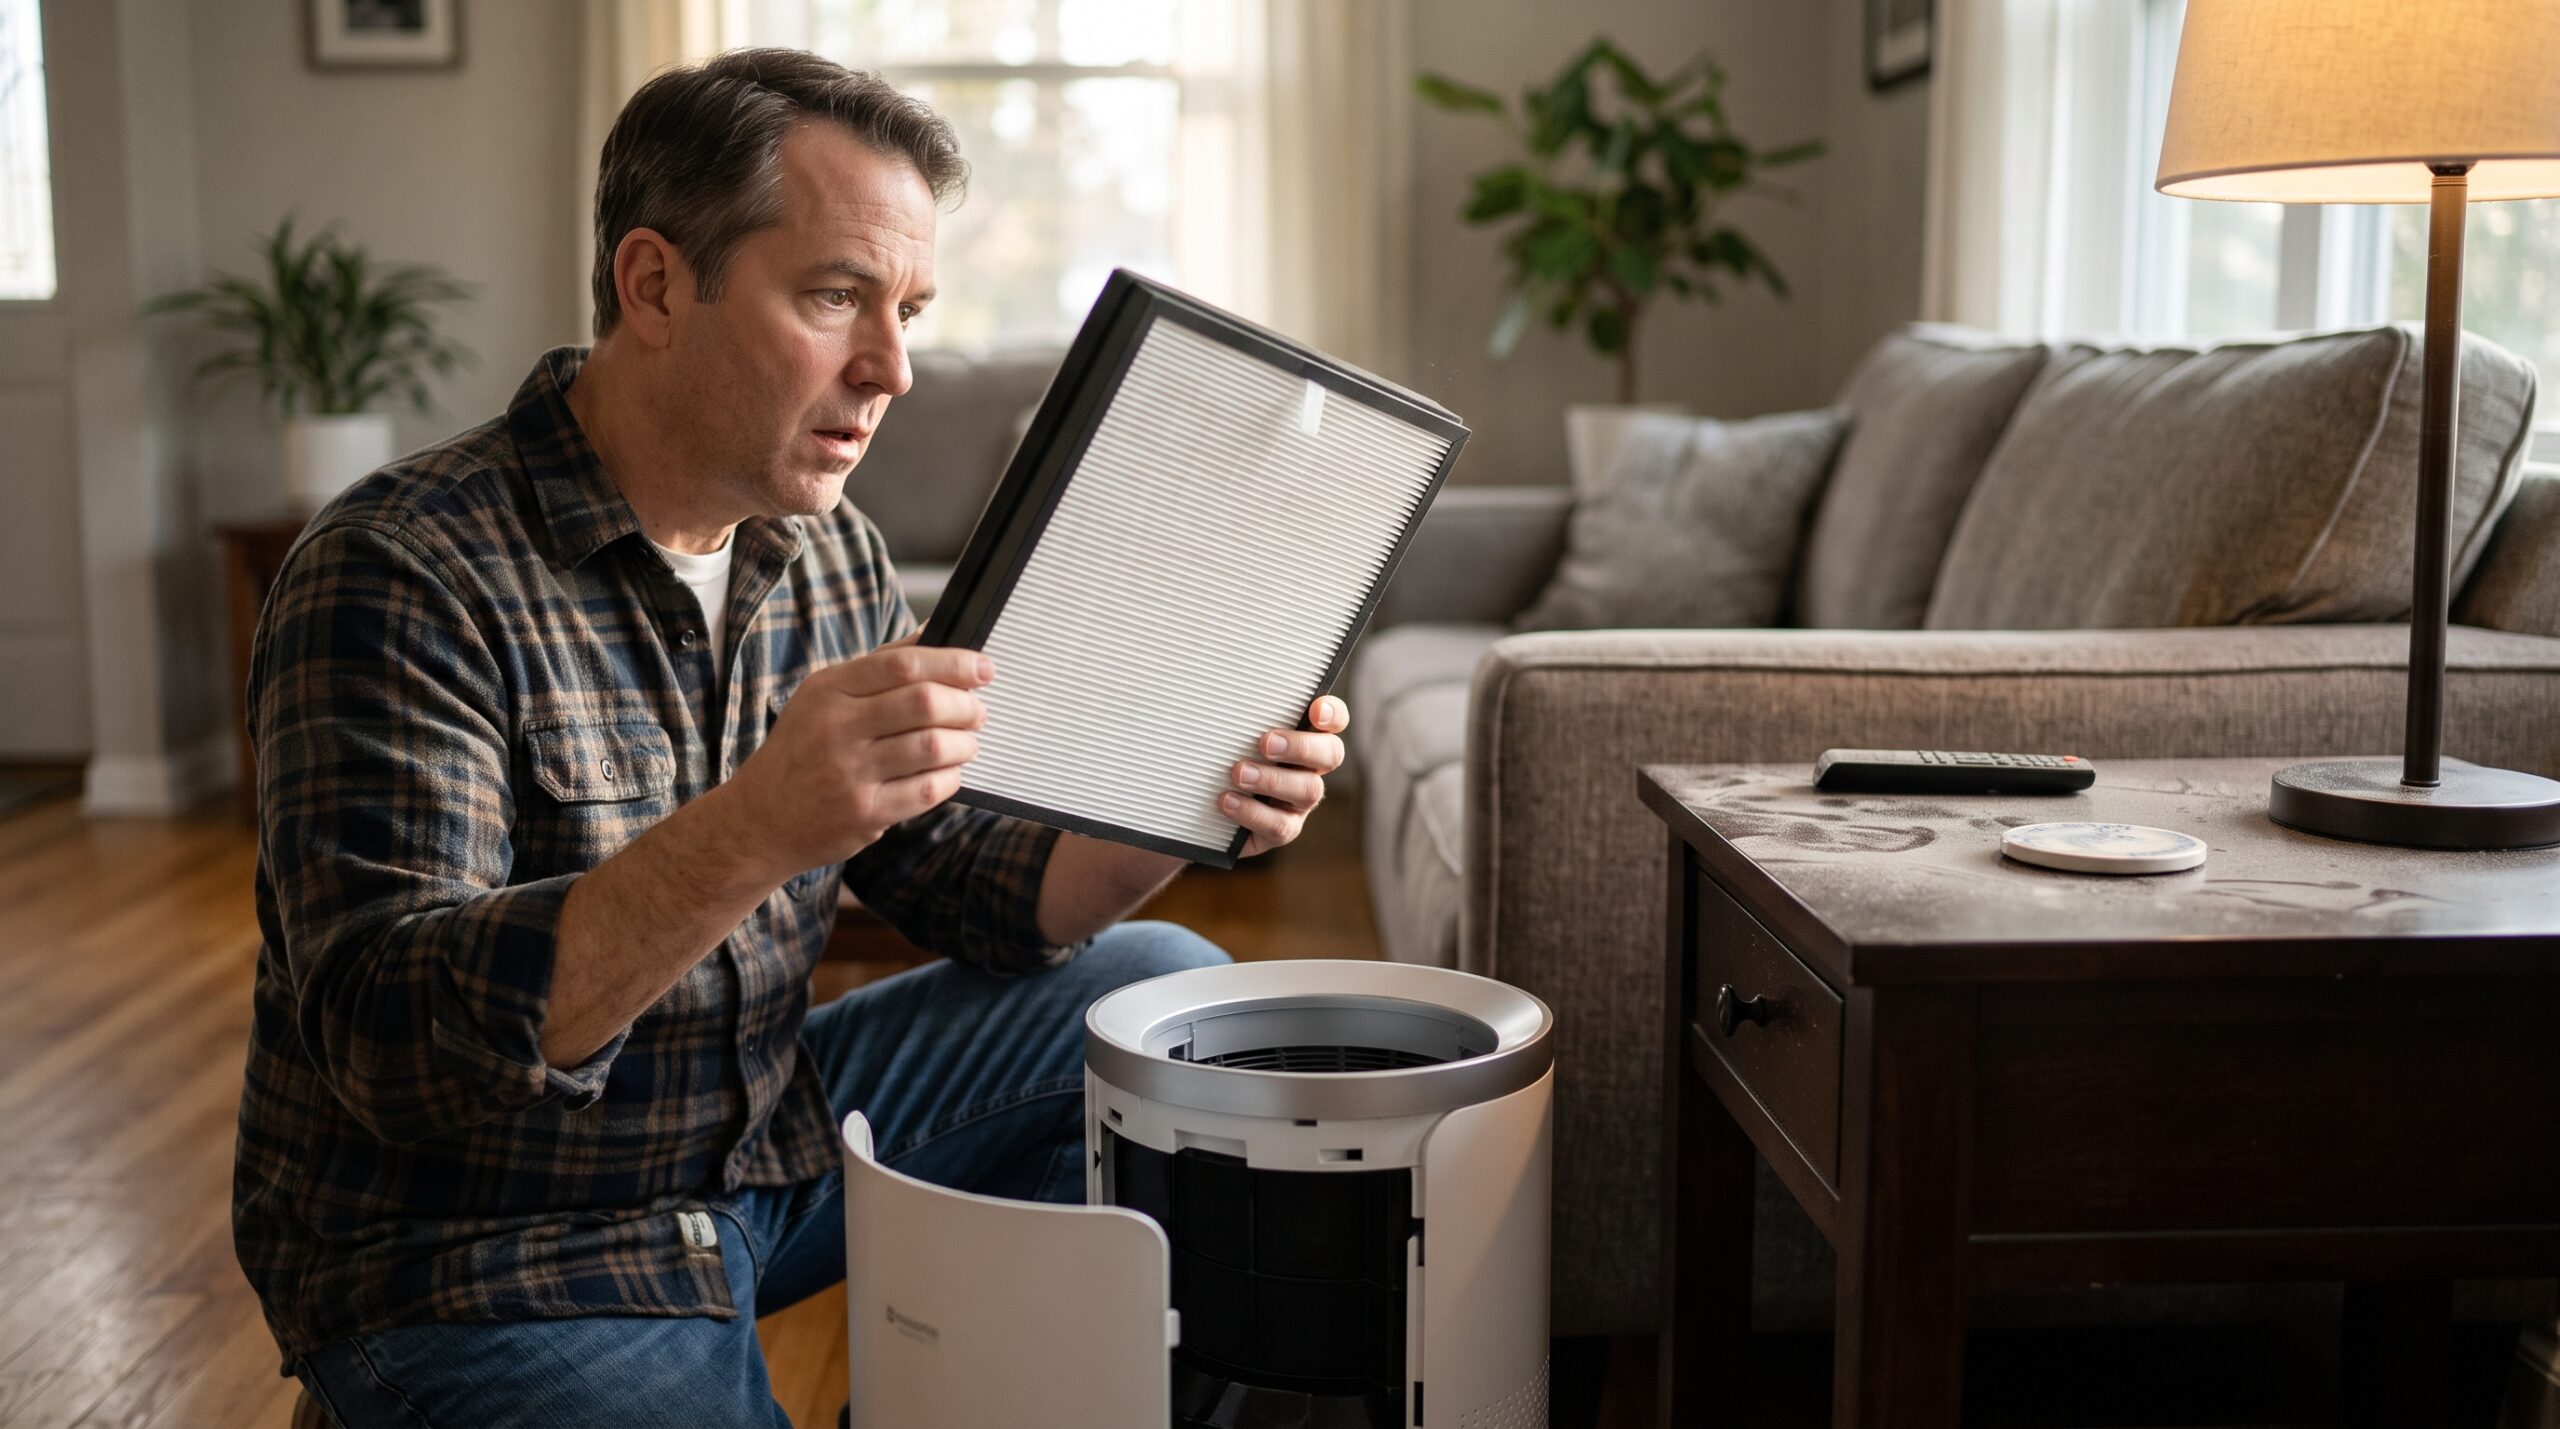
Quick Answer: Why Does My Air Purifier Filter Still Look Clean?
An air purifier filter may remain pale because the purifier is running at a low speed, the intake is blocked, the room has little airborne particle loading, larger dust is settling before it reaches the machine, or a serviceable pre-filter is catching most visible debris first.
It can also point to a setup problem: shipping plastic left on the filter, incorrect orientation, the wrong filter code, a loose seal, or air bypassing the media. Turn the purifier off and unplug it before opening the filter compartment when the manual directs you to do so. Verify the exact model, filter code, packaging, orientation, fit, and care instructions.
Do not wait for a white filter to turn dark before following the manufacturer’s replacement schedule. Fine-particle loading, airflow resistance, carbon capacity, filter damage, and remaining service life cannot be judged by color alone.
Best Smart Purifiers takeaway: A clean-looking filter is an observation, not a verdict. Check the air path, installation, filter identity, operating history, and actual room problem before you reset, clean, or replace anything.
A Clean-Looking Filter Can Tell Four Very Different Stories
The next action depends on which story fits the complete pattern—not on whiteness by itself.
Compare the Clean Filter With the Other Clues
Start with what changed and what the purifier is actually doing. A pale filter with normal operation deserves a different response from a pale filter beside obvious dust trails around its frame.
| What you notice | What it may mean | Best first check |
|---|---|---|
| Filter is pale; airflow and operation seem normal | Visible color may be a weak indicator for the particles being captured. | Review installation date, runtime, room conditions, and the manual’s schedule. |
| Filter is pale; output is much weaker than before | Mode, obstruction, installation, or a non-visible restriction may be involved. | Compare the same manual speed, then use the seven-check weak-airflow guide. |
| Filter stayed spotless after a recent replacement | Packaging, orientation, filter identity, fit, or cover closure deserves review. | Unplug as directed and revisit every installation step. |
| Outer pre-filter is loaded; inner pleats remain light | The first layer may be intercepting most hair, lint, and coarse debris. | Identify each layer and service only what the exact manual permits. |
| Dust appears around one filter edge | Air may be bypassing a gap, damaged gasket, or poorly matched cartridge. | Verify the complete purifier model, approved filter code, frame, seal, and door. |
| Room smells bad, but the particle filter looks clean | The source or gas-removal stage may matter more than the particle filter’s color. | Control the source and check the exact carbon stage and replacement instructions. |
On a phone, swipe the table sideways to see every column.
Seven Checks Before You Trust, Reset, or Replace the Filter
Start With Time and Use—not Color
Write down when the filter was installed, how many hours the purifier usually runs, the normal fan mode, and any recent smoke, renovation, pollen, pet, cooking, or cleaning event.
A lightly used bedroom filter and a continuously operated living-room filter do not share the same history. Some reminders are based primarily on runtime or an algorithm, while others use additional inputs. Read what the indicator means for the exact model before assuming the filter’s appearance overrules it.
If the alert is confusing, use the replace-filter-light guide before resetting the clock.
Compare a Known Manual Fan Speed
If the purifier has no safety warning, select a manual fan speed using its normal controls. Listen for the expected change between settings and observe whether outlet airflow changes at the same time. Keep hands and objects outside the grilles.
Auto and sleep modes may spend long periods at low output. The EPA Guide to Air Cleaners in the Home explains that higher speeds and longer runtimes generally increase the amount of air filtered. Published CADR is typically associated with the highest speed.
Do not create smoke, spray aerosol, shake powder, burn incense, or blow dust toward the unit as a challenge test. Add no pollutant just to see whether a filter changes color.
Trace the Air Path Through the Room
Find every intake, outlet, and sensor opening in the current manual. Then look for walls, curtains, furniture, bedding, laundry, pet hair, or carpet blocking the designed path.
Placement matters because a filter can capture only particles carried into the intake. The EPA recommends keeping airflow unobstructed. Use the site’s room-by-room placement guide rather than assuming a central-looking corner is an effective location.
If the purifier sits beside a supply or return grille, compare that setup with the HVAC-vent placement check.
Revisit Packaging and Orientation
Turn the unit off and unplug it before opening the filter compartment when the manual instructs you to do so. Check whether all shipping plastic, bags, tape, cardboard, and temporary supports were removed.
Compare the filter’s airflow arrow, top and bottom, tabs, handles, and gasket position with the installation diagram. Confirm that the cover closes normally without force. Never run a purifier with a required panel removed simply to watch what happens.
A machine may power on even when a filter is wrapped or incorrectly seated. Operation alone does not confirm that air is traveling through the intended media.
Match the Exact Filter and Seal
A cartridge that looks right can still differ in depth, frame, gasket, tabs, airflow resistance, or filter stages. Record the purifier’s full model number and the manufacturer filter code; then compare both with the installed part.
Inspect owner-accessible edges for obvious gaps, folded seals, cracks, loose frames, dust trails, or a door that now closes differently. Do not add homemade foam, tape, or extra filter media unless the manufacturer specifies it.
The site’s seven-step replacement-filter match check explains why physical fit is only the beginning.
Identify Which Layer You Are Judging
An air purifier may use a washable screen, a vacuumable pre-filter, a disposable particle filter, activated carbon, or a combined cartridge. The outer layer can collect visible hair and lint while the finer filter behind it changes very little in color.
Black material may be carbon from the day it is installed. White pleats may remain pale while collecting fine particles. Appearance therefore makes sense only after you identify the layer and its job.
Clean only what the exact instructions call cleanable. The filter-vacuuming guide shows why permission for a pre-filter does not automatically extend to the main HEPA-style or carbon media.
Match the Filter to the Real Room Problem
Household dust already sitting on shelves, floors, and fabric may never pass through the purifier. The airborne-versus-settled dust guide pairs filtration with surface cleaning and source control.
Odors and gases are a different job. A pale particle filter does not prove that an activated-carbon stage is fresh, large enough, present, or suited to the source. The EPA notes that particle and gas filtration require different media and that no air cleaner removes every indoor pollutant.
If the correct filter is installed, the air path is open, manual speeds behave abnormally, or dust visibly bypasses the media, stop buying guesses and contact the manufacturer. Send the model, filter code, installation date, photos, operating mode, and the checks already completed.
The Filter Can Work Only When the Whole Air Route Works
A blockage, wrapper, gap, wrong cartridge, or very low operating speed can weaken this route. Filter color cannot identify which link needs attention.
Run a Safe Observation Check—Not a Smoke Test
A useful check compares normal operation before and after one verified correction. It does not deliberately pollute the room.
Record the “before” condition
- Purifier model and installed filter code
- Filter installation date and ordinary daily runtime
- Selected mode and manual fan speed
- Room dimensions, ceiling height, and normal door position
- Airflow, sound, odor, filter alert, and visible dust pattern
Correct one confirmed issue
Examples include removing verified shipping plastic, restoring the approved wall clearance, reseating the correct filter, closing the cover properly, or servicing an approved pre-filter. Do not change five variables at once.
Compare normal use again
Restore power, select the same manual speed, and observe the same room under similar conditions. Note changes in sound, output, filter alert, and pre-filter loading over time. A single hand near the outlet is not a CADR test or an indoor-air measurement.
The EPA’s indoor particulate matter guidance explains that indoor particle levels depend on outdoor conditions, ventilation, filtration, indoor sources, and occupant activities. That is why a normal-room record is more useful than an improvised smoke challenge.
Let the Evidence Choose the Next Step
Add a “Clean-Looking Filter” Record to Your Planner
The free 15-page Smart Air Purifier Fit & Filter Planner helps you compare room fit, CADR, filter compatibility, first-year cost, and maintenance. Add this short record beside the filter-maintenance page:
- Identity: purifier model, filter code, and every installed stage;
- Timeline: installation date, daily runtime, normal mode, and filter alert;
- Room: dimensions, ceiling height, door position, placement, and main particle source;
- Inspection: packaging, orientation, seal, cover, pre-filter, main filter, and visible bypass;
- Comparison: airflow, sound, odor, and what changed after one approved correction;
- Decision: continue, perform approved maintenance, replace the confirmed part, or contact support.
This record prevents two expensive mistakes: replacing a filter only because a timer ended, and ignoring an installation problem because the filter still looks new.
Replace Only After You Confirm the Part
If the exact manual, filter condition, operating history, or manufacturer support confirms that replacement is due, shop with the purifier model and approved filter code beside you. Verify every stage, package quantity, dimensions, seller, and return policy before ordering.
Check FiltersFast Availability Use the Filter-Match ChecklistAffiliate link. Inventory, compatibility, construction, package contents, and seller terms can change. If the approved replacement is unclear, ask the manufacturer before purchasing.
Four-Question Interactive Knowledge Check
Select one answer per question, then check your score. Each question also includes a high-contrast answer explanation that works even if a WordPress security setting blocks the scoring script.
Frequently Asked Questions
Should an air purifier filter look dirty after a month?
Not necessarily. Appearance depends on fan speed, runtime, particle sources, room activity, placement, filter design, and which layer you are viewing. Follow the exact inspection and replacement guidance rather than expecting one universal color change.
Can a HEPA-style filter collect particles and still look white?
Yes. Fine particles may not create a dramatic visible color change, and filter media vary in color and construction. A visual check is only one part of maintenance; use the model-specific schedule, operating history, airflow, alerts, condition, and manufacturer instructions.
Why is the pre-filter dirty but the main filter still looks clean?
The pre-filter is often positioned to catch hair, lint, and coarse debris first. That can protect the finer media behind it. Identify whether the pre-filter is washable, vacuumable, wipeable, or disposable, and use only the method approved for that model.
Does a clean filter mean the purifier is not working?
No. It may reflect low particle loading or subtle fine-particle capture. It can also reflect low airflow, blocked placement, packaging, an installation problem, a poor seal, or the wrong evidence for an odor or settled-dust concern. Work through the seven checks before deciding.
Should I reset the filter light if the filter looks clean?
Reset it only after completing the maintenance action specified for that alert. Silencing a replacement reminder because the pleats look pale can erase useful service history without correcting the underlying requirement.
Can I wash or vacuum a clean-looking filter?
Only if the manufacturer explicitly permits that method for that exact layer. Some pre-filters are serviceable; many main particle and carbon filters are replacement items. Unapproved washing or aggressive vacuuming can damage media, seals, or performance.
How can I tell whether air is bypassing the filter?
Owner-accessible clues can include an incorrect filter code, loose fit, a folded or damaged gasket, a cover that closes differently, or dust trails around an edge. These clues do not justify opening the motor or electrical housing. If the approved filter is installed correctly and bypass still appears possible, contact the manufacturer.
What Does Your Filter—and the Air Around It—Show?
Is the filter still bright white, clean only on one side, protected by a loaded pre-filter, or surrounded by dust near one edge? Share the purifier model, filter code, installation date, normal fan setting, and the check that changed your conclusion in the comments.
Those real-room details can help another reader avoid both a premature filter purchase and a missed installation problem. Keep serial numbers, receipts, addresses, and personal contact details out of public comments.
Sources and Editorial Approach
This is a research-based troubleshooting guide, not a hands-on review, laboratory performance test, indoor-air assessment, or diagnosis of a particular purifier. Product designs, filter instructions, reminder logic, compatibility, and replacement schedules can change. Sources rechecked September 20, 2026:
- U.S. EPA: Guide to Air Cleaners in the Home
- U.S. EPA: Indoor Particulate Matter
- AHAM Verifide: Air Filtration Standards and CADR Sizing
- U.S. CPSC: Household Electrical-Safety Guidance
Final Takeaway: Do Not Let Whiteness Make the Decision
A clean-looking filter may be perfectly plausible—or it may be the clue that exposes low airflow, forgotten packaging, a near-fit replacement, or air bypass. The difference appears only when you connect appearance with the purifier’s complete air path and operating history.
Confirm the model. Match the filter code. Inspect packaging, orientation, fit, and seals. Identify every layer. Compare a known manual speed. Then follow the exact maintenance schedule or contact support.
The filter does not need to look dramatic to deserve a careful, evidence-based decision.