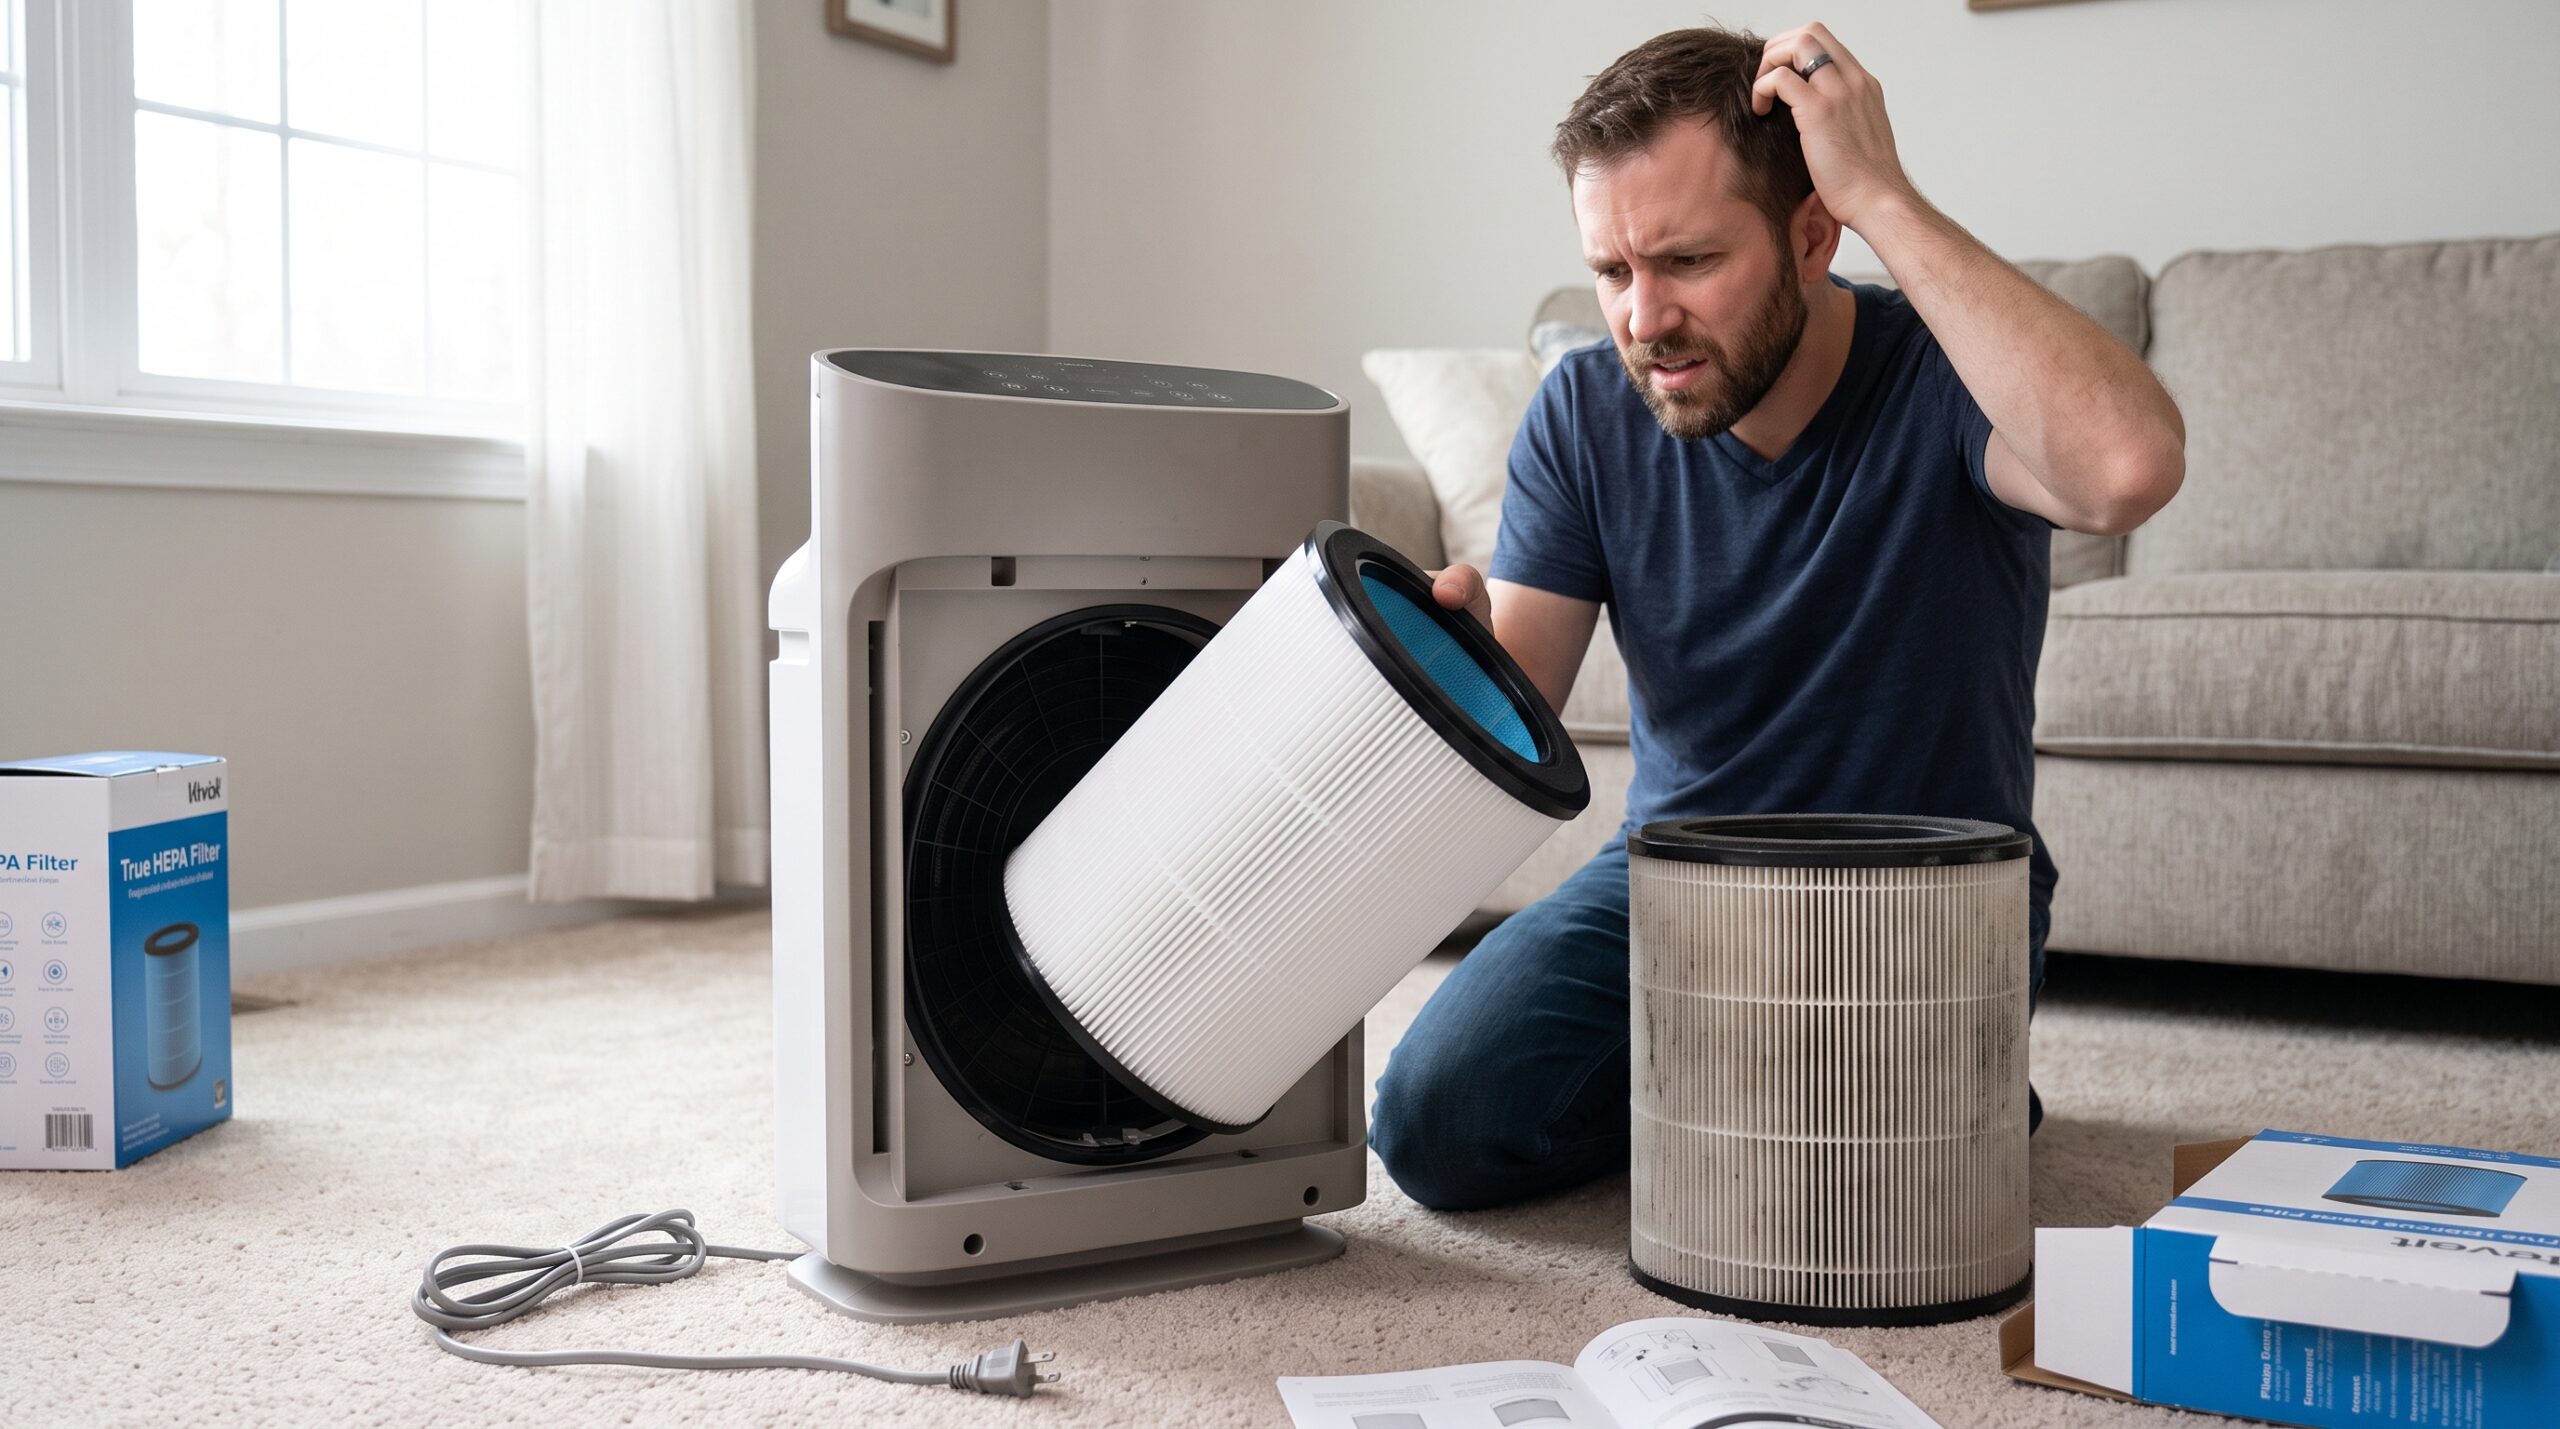
The new filter looks right—but it stops short, rocks in the compartment, or keeps the cover from closing. That is not the moment to push harder. A near-fit cartridge can change the seal, airflow resistance, filter stack, safety interlock, and tested configuration even when its height and color look almost identical.
Start with identity, then installation. The full purifier model and approved filter code are more reliable than appearance.
Reader-first affiliate disclosure: This guide includes a FiltersFast affiliate link for readers who confirm the exact replacement they need. BestSmartPurifiers.com may earn a commission from a qualifying purchase at no added cost to you. A filter that does not fit is not presented as a reason to guess at another purchase. Read the full affiliate disclosure.
Quick Answer: Why Won’t My Air Purifier Filter Fit?
The replacement may be for a similar purifier, a different model revision, or another regional version. Packaging may still be attached; the filter may be upside down, stacked in the wrong order, or resting on a tab, handle, gasket, or old filter layer. A bent frame, swollen damp filter, debris in the compartment, or incorrectly positioned cover can also prevent normal seating.
Turn the purifier off and unplug it before opening the filter compartment when its manual directs. Do not trim the filter, compress the pleats, remove a gasket, tape the cover, defeat an interlock, or force a latch. Confirm the complete purifier model and manufacturer-approved filter code before deciding that the part is defective.
Best Smart Purifiers takeaway: “Almost fits” is a mismatch until the model, filter code, orientation, complete filter stack, seals, and installation diagram all agree.
Match the Fit Problem Before You Return the Filter
| What you notice | Likely starting point | Best first check |
|---|---|---|
| Filter is clearly too tall, short, wide, or narrow | Wrong code, model, generation, or package contents | Compare the purifier rating label, manual, and filter code—not the product photo. |
| Correct outline, but it stops before seating | Wrapper, cardboard, old layer, tab, handle, or wrong orientation | Remove only identified packaging and follow the installation diagram. |
| Filter fits, but the cover will not close | Raised tab, gasket, handle, filter order, or misaligned cover | Remove and reinstall without force; verify every layer. |
| Filter rocks or leaves a visible gap | Near-fit cartridge, missing seal, damaged frame, or incorrect part | Stop and verify exact compatibility with the manufacturer. |
| Old filter fits; new one does not | Wrong shipment, production damage, revised part, or overlooked packaging | Compare codes, dimensions, frame details, seals, and package quantity side by side. |
| Filter became distorted after washing | A non-washable layer may have swollen or warped | Do not reinstall it; follow the manufacturer’s replacement guidance. |
On a phone, swipe the table sideways to view every column.
Seven Checks Before You Force the Cover
1. Read the Complete Purifier Model
Find the rating label on the back, base, side, app, or inside the approved filter compartment. Record every letter, number, suffix, and revision. Closely related models may use housings that look alike while accepting different filter depths, tabs, gaskets, or multi-layer sets.
Do not rely only on a family name printed prominently on the front. If the label and manual disagree, pause and ask the manufacturer which document applies.
2. Match the Manufacturer Filter Code
Compare the approved filter code in the current manual or official support page with the code on the box and the cartridge itself. Then read the seller’s compatibility list, package quantity, and included stages. “Compatible with” should name your complete model—not merely a similar series.
The site’s replacement-filter checklist explains why filter identity, installation, and air bypass matter more than appearance.
3. Remove All Packaging—and Only Packaging
Look for a plastic bag, shrink film, cardboard ring, foam support, tape, cap, or shipping insert. Compare each removable item with the installation diagram. Do not remove a bonded gasket, mesh screen, pull tab, carbon layer, or structural ring merely because it seems to block the fit.
Save the box and packaging until the filter is confirmed. They preserve the code, lot information, seller details, and return options.
4. Check Top, Bottom, Airflow Direction, and Handles
A cylindrical filter can appear symmetrical while having a specific top, bottom, flange, or handle position. A rectangular filter may have an airflow arrow, gasketed side, rail, notch, or tab that must align with the housing.
Use the diagram for the exact model. Do not assume that an arrow points toward the room; it normally describes airflow through the filter, which depends on the purifier’s design.
5. Account for Every Filter Layer
Some purifiers use a single combined cartridge. Others use a removable pre-filter, particle filter, carbon sheet, frame, or retaining ring in a particular order. An old carbon pad, forgotten spacer, doubled pre-filter, or second gasket can consume the clearance the new filter needs.
Lay out the approved parts in order and compare them with the manual. Clean only layers the manufacturer identifies as serviceable. The guide to vacuuming purifier filters separates maintainable pre-filters from replacement media.
6. Inspect the Compartment, Frame, and Seal
With power disconnected, inspect owner-accessible areas for lint, a trapped cord, a loose retaining piece, broken plastic, a folded gasket, or an old seal stuck in place. Check the new filter for crushed pleats, a bowed end cap, detached frame, water damage, or shipping deformation.
Do not reshape, trim, tape, glue, or compress a damaged cartridge. Photograph the problem and use the seller or manufacturer return process.
7. Seat It Once—Without Force—Then Escalate
Follow the installation sequence once from the beginning. The filter should settle into its designed position and the cover should close normally. If it still rocks, protrudes, or requires pressure beyond the manual’s method, stop.
Contact the manufacturer with the purifier model, filter code, box label, seller, photos of both end caps and the compartment, and the exact step where installation stops. Keep serial numbers and personal order details out of public comments.
Wrong Part, Damaged Part, or Installation Issue?
Physical fit alone does not establish performance. The U.S. EPA notes that air-cleaner effectiveness depends on pollutant removal and the rate of air moved through the filter. A gap or unintended restriction can undermine the air route the purifier was designed to use.
Add a Filter-Fit Record to Your Planner
The free 15-page Smart Air Purifier Fit & Filter Planner already includes filter matching, room fit, CADR, first-year cost, and maintenance. Add this compact record:
- Complete purifier model and revision;
- Manufacturer-approved filter code;
- Code printed on the box and cartridge;
- Included stages, dimensions, tabs, handles, and seals;
- Packaging removed and installation direction;
- Seller, return deadline, and manufacturer response;
- Final decision: reinstall, exchange damaged part, return wrong part, or contact support.
Buy Only After the Match Is Confirmed
If the manufacturer documentation identifies the exact replacement, compare that code, supported models, stages, quantity, seller, and return policy before ordering. Keep the old filter code and purifier label beside you.
Check FiltersFast Availability
Affiliate link. Inventory, compatibility, construction, package contents, pricing, and seller terms can change. If the approved replacement remains unclear, ask the manufacturer before purchasing.
Four-Question Interactive Knowledge Check
Select one answer per question, then check your score.
Frequently Asked Questions
Why does a filter with the right brand name not fit?
One brand may sell several visually similar purifier sizes, generations, or regional versions. Match the full purifier model and manufacturer filter code, including suffixes, rather than brand or family name alone.
Can I trim an air purifier filter to make it fit?
No, unless the manufacturer explicitly designed and instructs that exact filter to be cut. Trimming a framed cartridge can damage media, seals, structure, and the intended airflow path.
Why won’t the cover close after a filter change?
Common causes include remaining packaging, wrong orientation, a raised handle or tab, incorrect layer order, doubled media, a folded gasket, a bent frame, a near-fit filter, or a misaligned cover.
Can I run the purifier without the cover?
Not unless the manufacturer explicitly permits that operating configuration. The cover may direct airflow, secure the filter, protect moving parts, and activate a safety interlock.
Are generic replacement filters safe to use?
A third-party filter should list the complete purifier model and match the required dimensions, frame, seal, airflow characteristics, and filtration stages. Compatibility claims can change; verify details and return terms. When uncertain, ask the purifier manufacturer.
What if the old filter fits but the new approved filter does not?
Compare codes, frame details, end caps, seals, dimensions, packaging, and any part revision. Photograph both filters and contact the seller or manufacturer. The new item may be damaged, mislabeled, incorrectly packed, or part of a documented revision.
What Stopped Your Filter From Seating?
Was it the wrong suffix, a hidden cardboard ring, an upside-down cartridge, an old carbon layer, a folded gasket, or a damaged frame? Share the purifier model, filter code, and the manufacturer-directed solution in the comments. Do not post serial numbers, order numbers, addresses, or personal contact details.
Sources and Editorial Approach
This is a research-based consumer troubleshooting guide—not a hands-on test, repair manual, or guarantee of compatibility. Product designs, model revisions, seller listings, filter codes, and instructions can change. Sources rechecked September 22, 2026:
- U.S. EPA: Air Cleaners and Air Filters in the Home
- AHAM Verifide: Air Filtration Standards
- U.S. CPSC: Home Safety
Editorial scope: Correct filtration depends on the complete purifier-filter system. Always follow the exact manufacturer instructions and use qualified service for electrical, motor, interlock, or internal damage.
Final Takeaway: A Correct Filter Should Not Need Persuasion
Confirm the complete purifier model. Match the approved filter code. Remove only packaging. Follow the top, bottom, airflow direction, layer order, handles, tabs, gaskets, and cover sequence. If the cartridge still will not seat normally, stop.
A return or support request is cheaper than a cracked cover, bypass gap, damaged filter, or purifier that cannot move air as designed.